Lippincott Procedures
The steps detailed in this document give instructions on how to access and complete the Lippincott Procedures series of courses. The steps include accessing and completing the course and viewing and re-accessing the certificate.
This documentation displays screenshot examples from symplr Learning. Accessing the course from another learning management system may result in a slightly different experience, but the general steps are the same.
There are several navigation tools and additional details as you work through course materials.
-
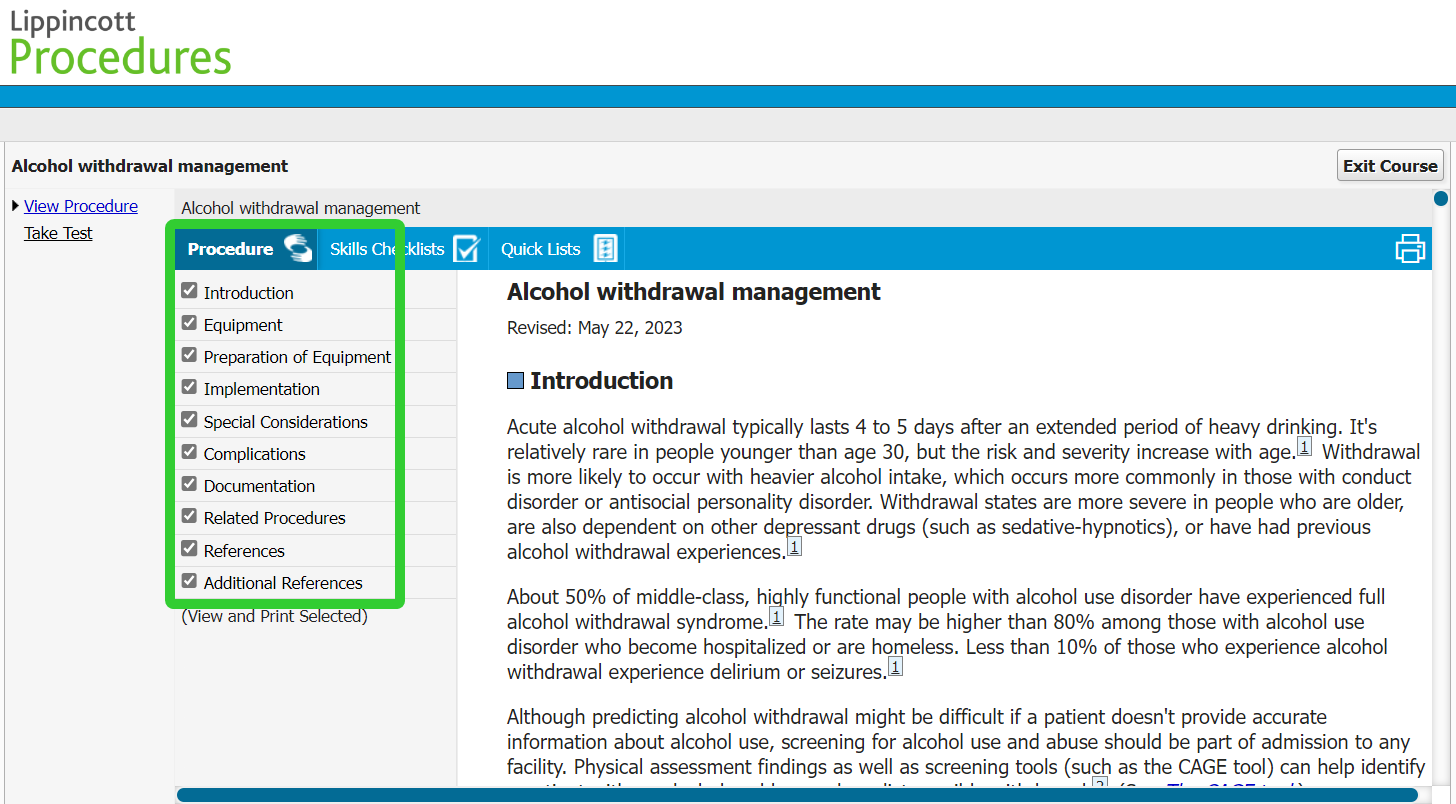
Procedure. Selecting the Procedure option in the upper-right displays the module's content directory (table of contents) underneath. Selecting an item from this list navigates to that page in the course.
-
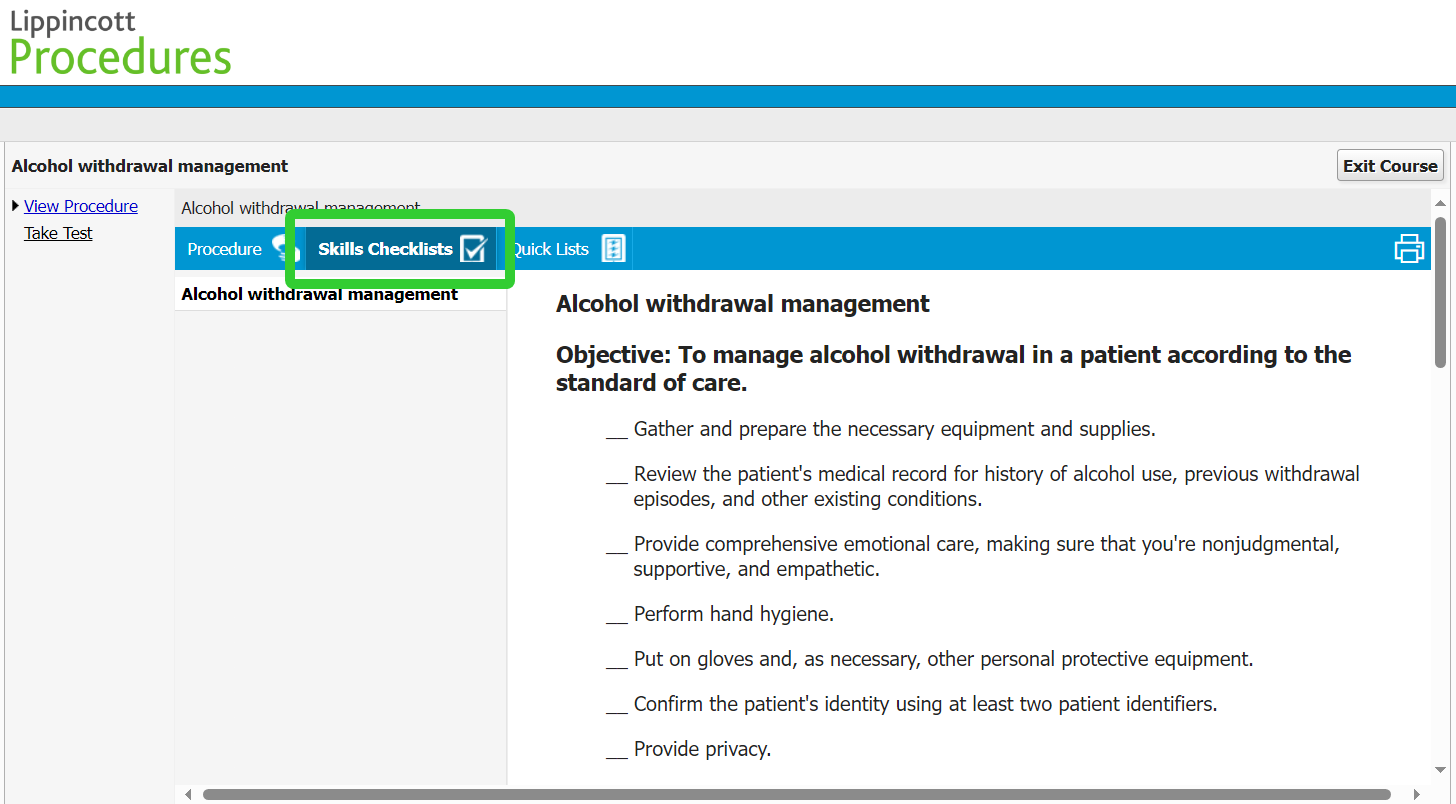
Skills Checklists. Selecting this option displays a list of specific skills that are presented throughout the lesson.
-
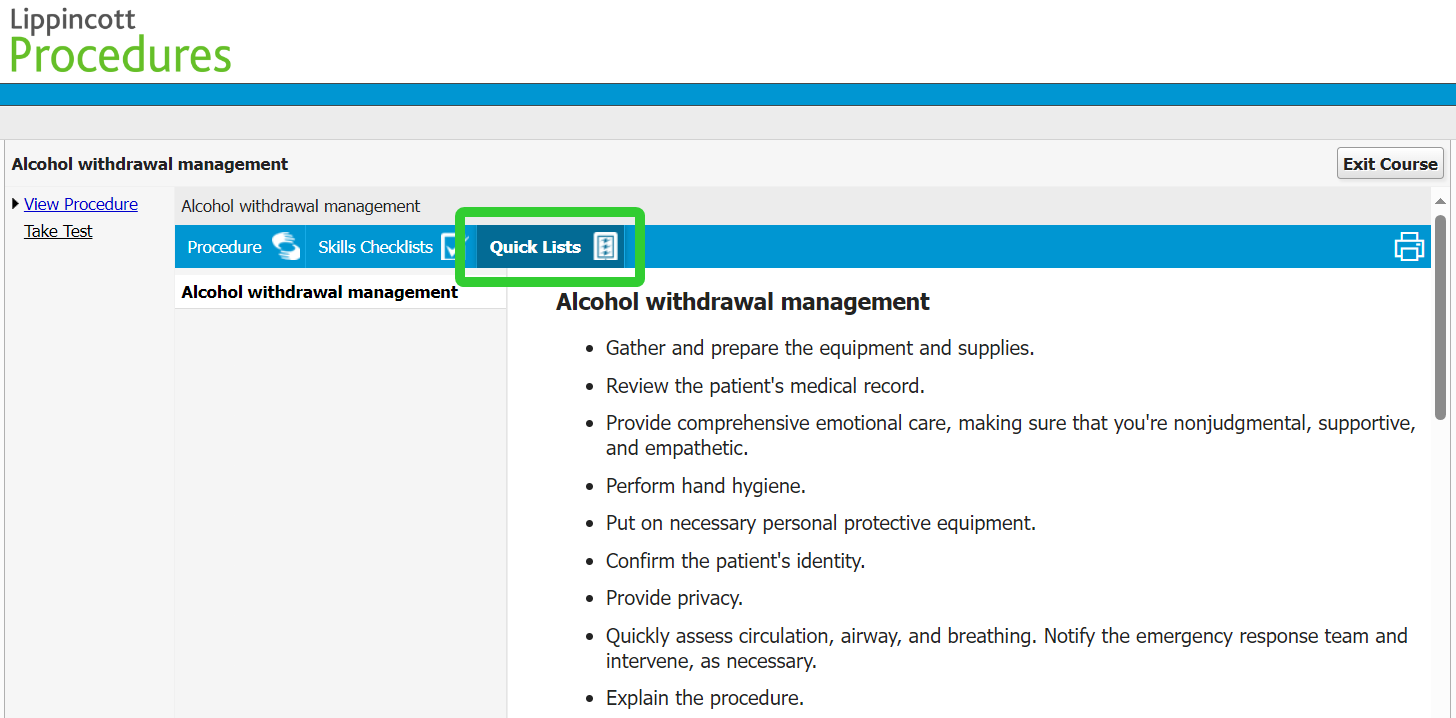
Quick Lists. Selecting this displays a high-level list of the procedures covered by the course.
-
Exit Course. Selecting Exit Course in the upper-right corner of the page closes the course window.
Note: You must use the Exit Course option to save your progress, instead of simply closing the course window.
-
Take Test. Selecting this option in the upper-left launches the module's posttest. While it may be accessed at any time, it is strongly recommended you select it only after reviewing and studying each of the learning resources in the View Procedure section.
-
Print. The Print option in the upper-right allows you to print the content of your current viewto a printer or save it to a PDF.
-
Print Procedures. When viewing the course Procedure, selecting Print allows you to print the actual contents of the course. Only items that are checked off in the list of Procedures are included in printed output.
-
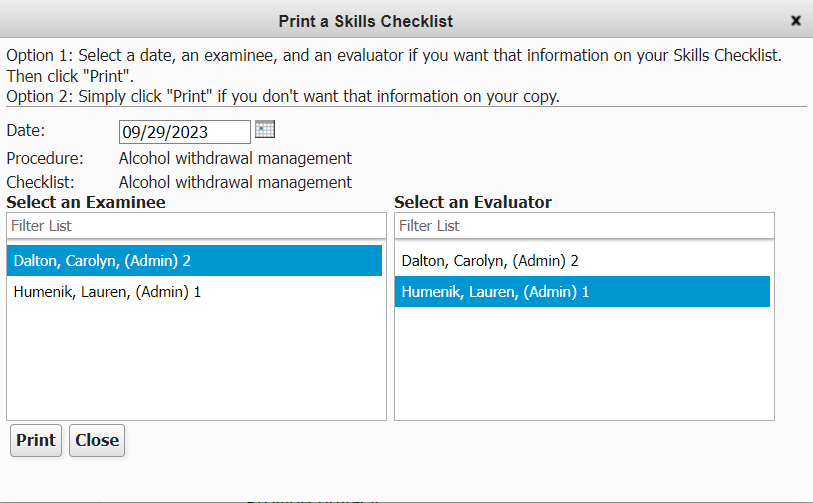
Print Skills Checklists. Selecting Print when viewing the Skills Checklists allows you to create a form for evaluating and checking off the list of skills for the course. Before printing, you are prompted to select a Date for the evaluation, as well as options to pre-fill the Examinee and Evaluator fields on the checklist form.
-
Print Quick Lists. When viewing the Quick Lists, selecting Print allows you to print the procedure list for the course.
-
You may begin reviewing the course materials by selecting Launch from the To Do List or the Course Details page.
-
The course window displays upon launching, open to the Procedure view of course content.
-
Review the course content, navigating through the sections either by scrolling or selecting a section heading listed under Procedure.
-
When you're confident in your understanding of the material, selecting Take Test launches the test. Otherwise, you can navigate back and review previous sections.
Note: In order to complete the course and have it appear on your transcript, you must earn a score of 80% or higher on the posttest.
-
Selecting Take Test from the course navigation menu launches the test. Answer each question by choosing the best answer from the options provided. Scroll down the page to ensure you answer every question.
-
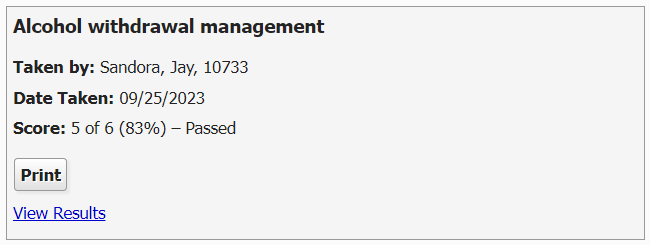
Selecting Submit Test sends in your responses and ends the posttest. The Results page displays whether or not you passed, and provides options for printing and reviewing your responses.
-
Upon completing the entire course (or if you simply want to exit), selecting Exit Course in the upper-right corner closes the window. Do not use the browser's close button to exit the course as this may cause saving errors!
Upon exiting, the Course Detail page refreshes to show your course grade, completion status, and completed date.
If you failed, you can exit and relaunch the course and give the test another shot when you're ready.
Loading feedback link...
