Reviewing Journal Entries
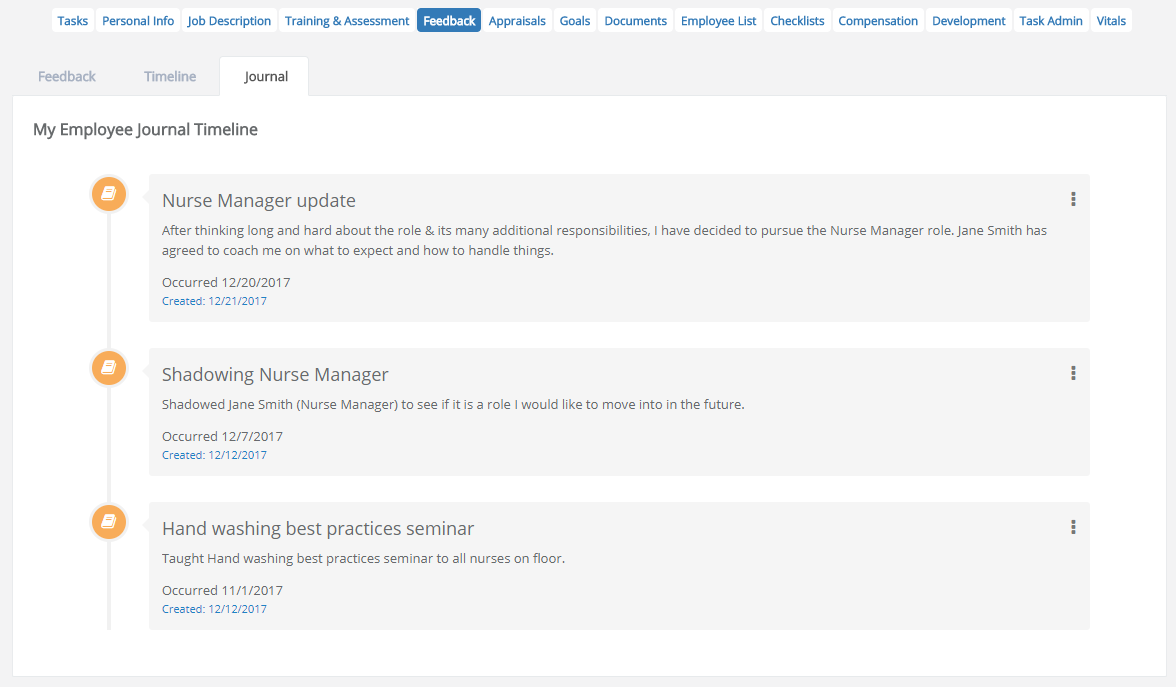
After a journal entry is created, you can view your entries on the Feedback page under the My Folder drop-down menu. On the Feedback page, clicking the Journal tab displays the Employee Journal Timeline. This timeline presents a list of any entries you've added.
Tip: You can also review previous notes by clicking View your Journal on the Journal Entry form.
Each entry on the list has options to Edit or Delete it, which are accessed by clicking the icon in the right-hand side. As these options imply, Edit allows you to make changes to the existing post by displaying the Journal Entry modal window. When the modal displays, make your desired changes, then click Add to save your edits.
On the other hand, clicking Delete gets rid of it altogether. After an entry is deleted, a small window pops up in the bottom corner of the page, letting you know it has been removed.
Warning: Clicking Delete removes the journal entry with no confirmation warning, so click carefully!
Should the need ever arise, system administrators may also view the journal entries of a specific employee. An administrator must first choose a specific employee from the organizational hierarchy by clicking the All Employees option under the Administrator drop-down menu. Then after selecting the employee, they must navigate to the Employee's Feedback page. Once there, clicking the Journal tab displays the Employee Journal Timeline.


