Adding New Imports
To create a new import, select New Import from either the Import drop-down menu or the Candidate menu in the upper-right corner of the page.
Groups of candidates are uploaded by either of two options: Uploading a ZIP folder containing multiple resume files, or uploading a spreadsheet (in .csv format) containing candidates' resume data.
-
Selecting New Import from the Import drop-down menu displays the New Import pop-up window.
Note: Files contained in the .zip folder must be in .doc, .docx, .txt, or .pdf formats. .Zip files may contain multiple resumes, but the size of the .zip folder can not exceed 20 MB.
-
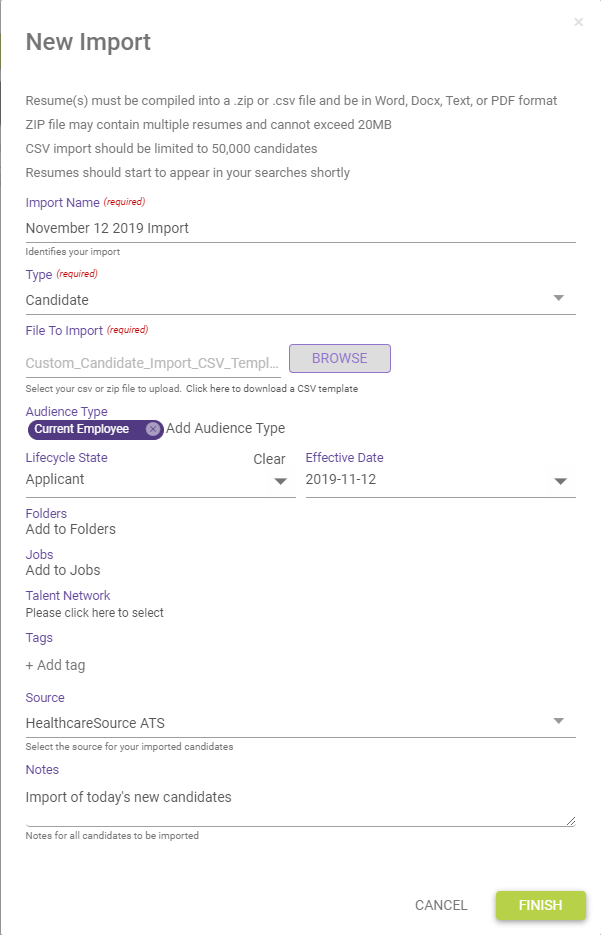
After your .zip file is ready to upload, complete the fields on the New Import window. You are given the option to automatically add these candidates to an existing folder, job, or talent network, and may add a Tag or Notes to candidates.
Note: Our Candidate Pool shows as the default source, but it is good practice to choose the specific origin source (Job Fair, Conference, Open House, Email, etc.) for tracking purposes.
-
Selecting Finish starts the import process. Resumes should start appearing in your searches shortly afterward.
-
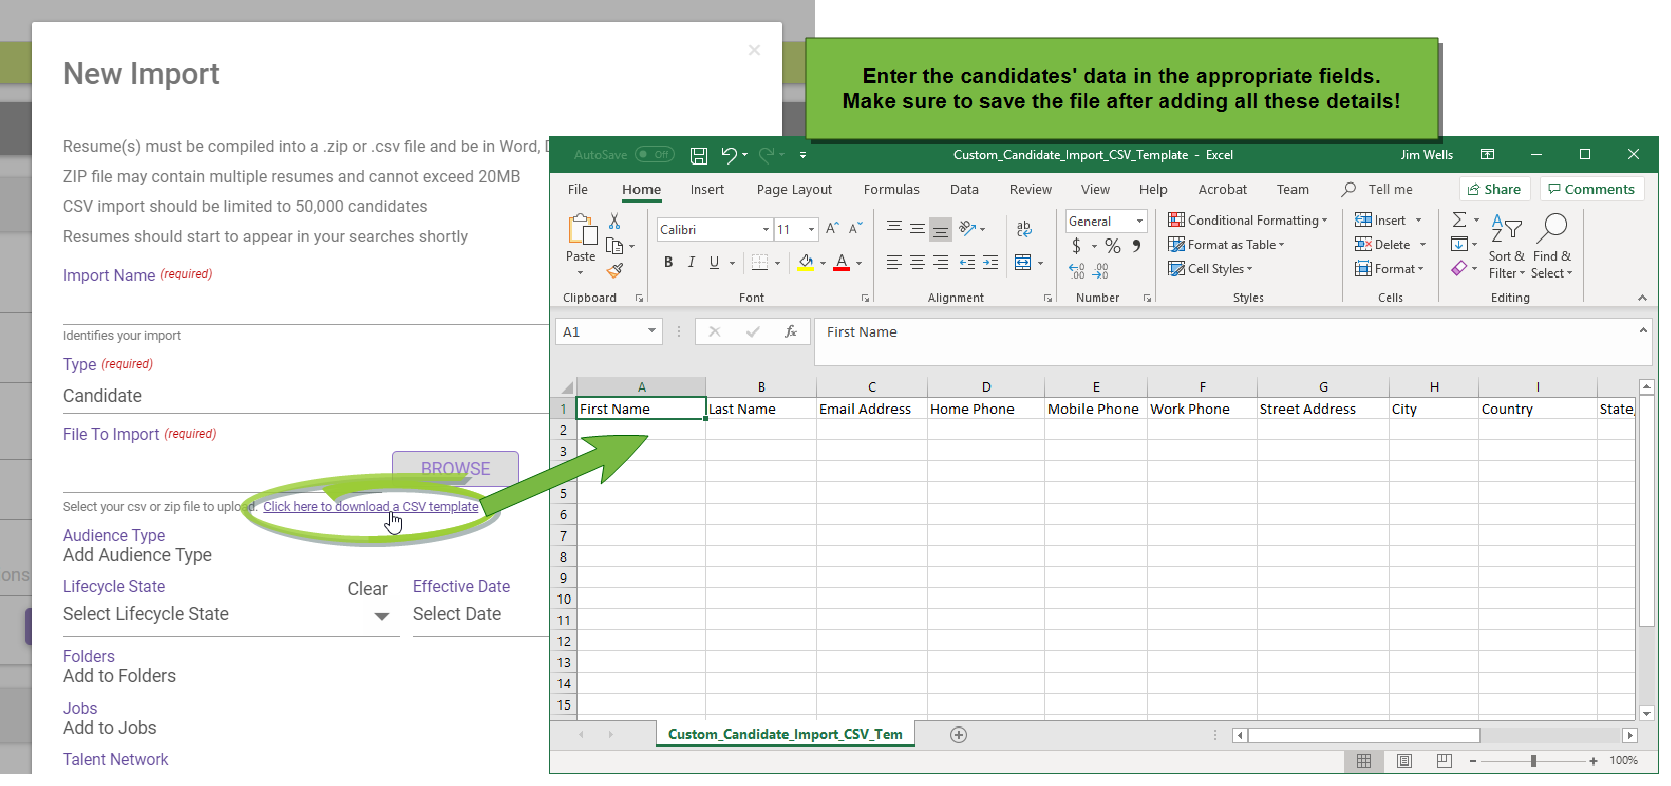
Download a template of this CSV file by selecting the link in the New Import pop-up window.
-
Enter the resume data for the candidates into this template, then save and upload it via the File to Import field.
-
After your .zip file is ready to upload, complete the fields on the New Import window. You are given the option to automatically add these candidates to an existing folder, job, or talent network, and may add a Tag or Notes to candidates.
Note: Our Candidate Pool shows as the default source, but it is good practice to choose the specific origin source (Job Fair, Conference, Open House, Email, etc.) for tracking purposes.
-
Selecting Finish starts the import process. Resumes should start appearing in your searches shortly afterward.
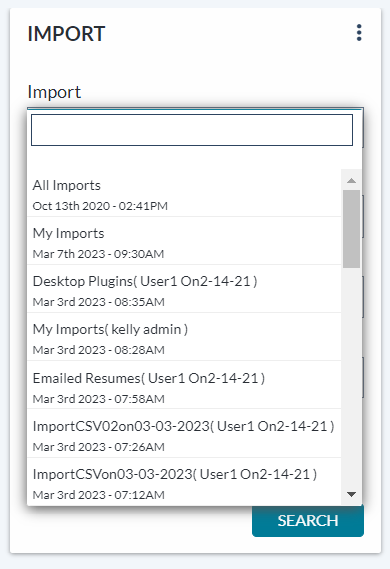
After processing an upload, the candidates are listed with all the others. The results of each import can be queried and displayed on the Import page by selecting the desired group from the Import drop-down menu in the upper-left section of the page.
The New Import popup contains several fields, some are required and others optional.
-
Import Name. When the candidates are imported, they will all be grouped by this name.
-
Type.Select what type of Import you are uploading.
-
File to Import. Selecting Browse displays a file select window enabling you to choose the file you wish to upload. Uploaded files may be in the .csv or .zip format. Upon selection, the file name displays in the field.
-
Import existing candidate profiles and tags as. These options provide the option to choose if imported profiles are included as the Primary or Secondary profile for candidates that already exist in the system. There's also an option to Remove tags for existing candidates, which removes existing tags and adds any new tags contained in the import.
-
Tags. The Tags field can be used to manually add tags to imported candidate profiles.
-
Audience Type. Selecting Add Audience Type displays an open text field where you can enter Audience Type values for imported candidates.
-
Lifecycle State. This field allows you to set the Lifecycle State for imported candidates, along with an Effective Date for the selected state.
-
Folders. Selecting Add to Folders lets you automatically add the imported candidate(s) to a folder group. Selecting multiple folders adds the imports to each of the selected folder groups.
-
Jobs. Selecting Add to Jobs lets you automatically add the imported candidate(s) to a job. Selecting multiple jobs adds the imports as candidates for all of the selected jobs.
-
Source. Selecting a source from this list identifies how these imported candidates were obtained.
-
Notes. Add notes to the imported candidates by entering text in this field.


