Creating a Requisition
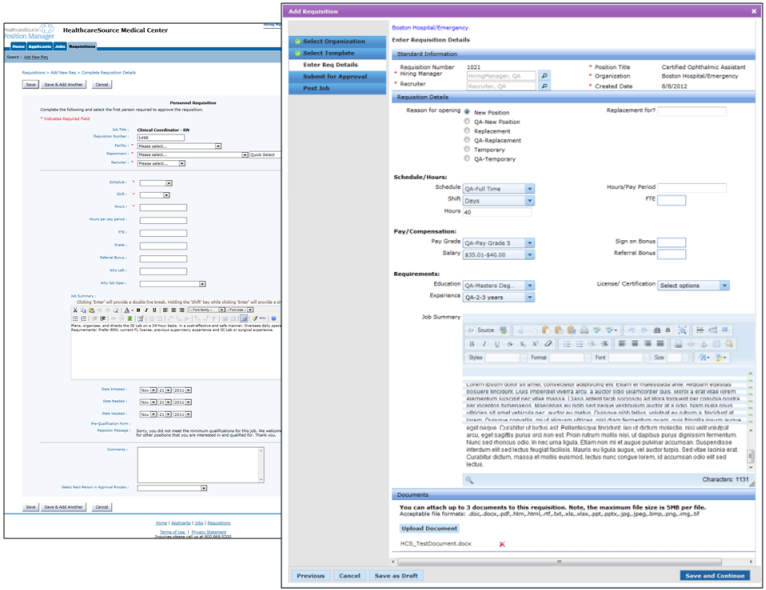
The steps required to create a requisition in symplr Recruiting are very similar in both version 10 and 11. The main difference lies in how the necessary steps are presented to the user.
When creating a new requisition in symplr Recruiting 10, you begin by selecting a Job Category for the new position. This category determines the list of position titles you will see in the next step of the creation process. Once the desired title is selected, you continue on to the requisition form for final details before submitting the requisition for approval.
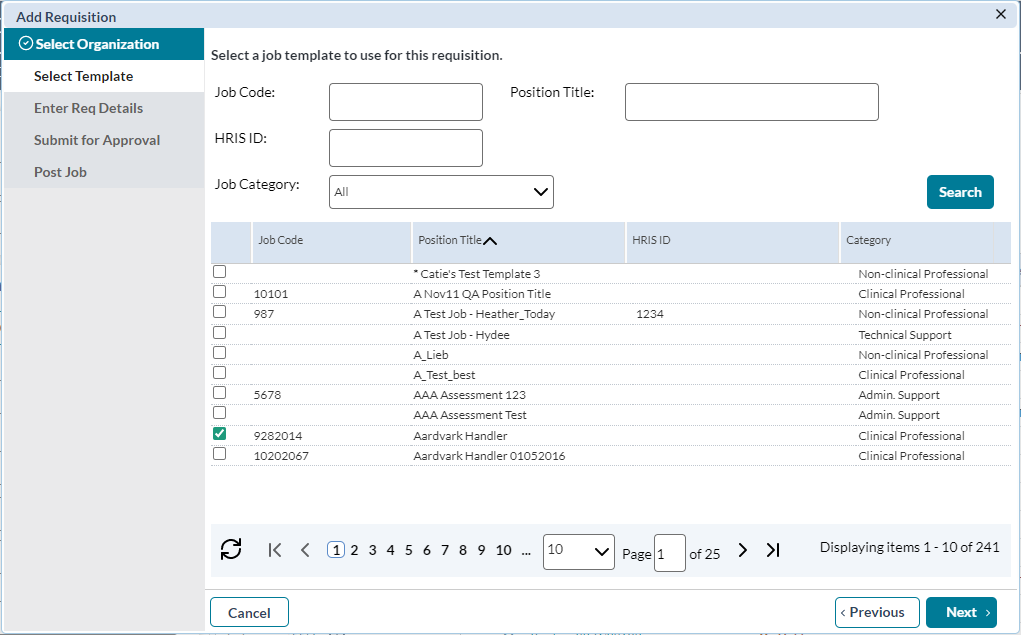
symplr Recruiting introduces a wizard that walks you through each step of the requisition creation process. The process is very similar to those taken in symplr Recruiting 10, it's just performed from within the framework of a wizard so you can see where in the process you currently are.
Both versions eventually take you to the requisition form, where you enter in the final details for the opening. Though requisition forms are customizable and vary from client to client, they remain very similar in appearance and content when comparing the two versions.
Both versions also offer the opportunity to either send the requisition to another user for review, or immediately mark the requisition as approved.
Note: In symplr Recruiting, you must have an approved requisition in order to create a job posting.

