Saving Reports
Reports can be saved to provide faster access to data by removing the need to re-select desired filters. Selecting a saved report automatically sets the filters and runs the report, allowing you to view report data in a single click.
Saved reports can also be shared with other users that have access to Reports.
-
Select a report from the Reports page.
-
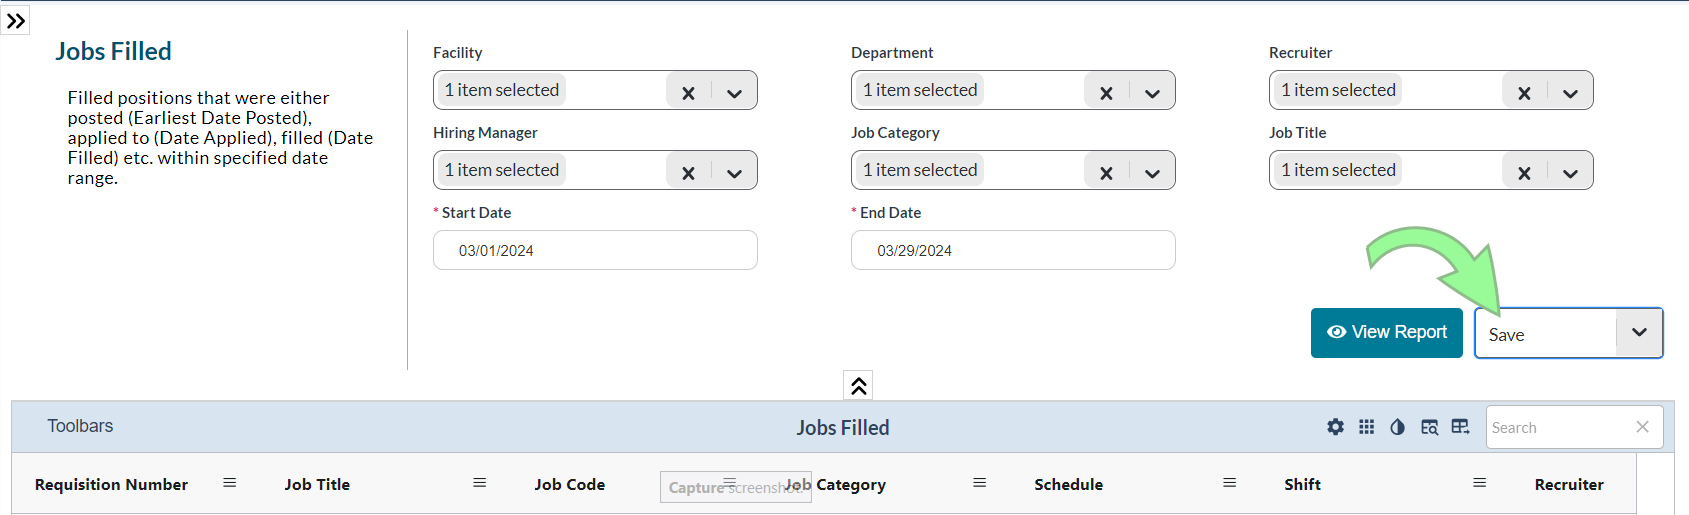
Set the desired filters and click View Report.
-
Select Save from the Actions drop-down menu. The Save Report window opens.
-
Enter a Report Name and Report Description and click Save Report.
Saved reports appear under the Customized Reports heading in the left-side navigation bar on the Reports page.
Note: The Customized Reports area does not appear on the Reports page unless you have at least one saved report.
You can update filter settings on saved reports at any time.
-
Click on a saved report you wish to update.
-
Configure the filters as needed.
-
Select Save from the Actions drop-down menu.
-
A confirmation dialog opens asking if you want to overwrite the existing report with the new filter settings. Click Proceed to save the report.
Saved reports can be deleted from the Customized Reports area at any time.
-
Click on a saved report you wish to delete.
-
Select Delete from the Actions drop-down menu.
-
A confirmation dialog opens asking if you want to delete the existing report. Click Proceed to delete the report.